T-Shirt Construction: From Blank Fabric to Ready‑to‑Wear
Ever wonder what goes on behind the scenes of that comfy tee in your closet? It’s not magic – it’s a series of simple steps that turn a roll of cotton into a shirt you can wear. Understanding the basics helps you pick better quality, care for it right, and even add your own embroidery twists.
Step 1: Picking the Right Fabric
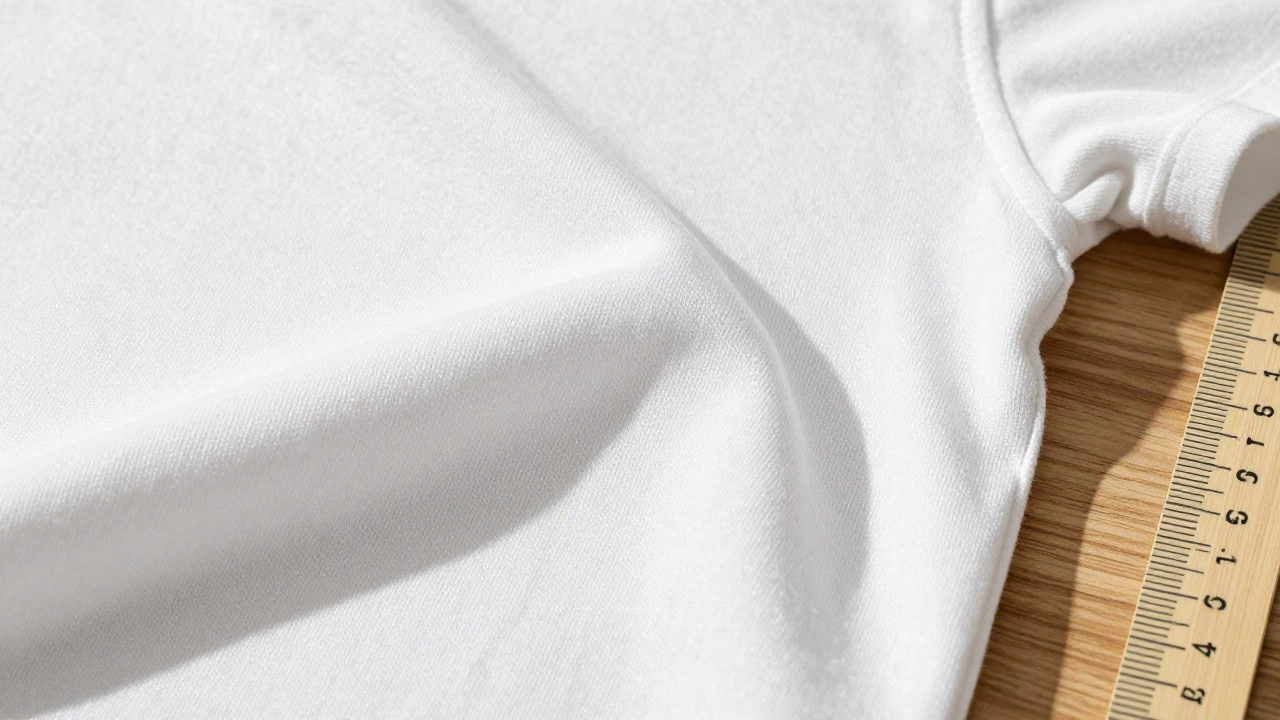
The first decision is the material. Most basic tees use cotton or a cotton‑blend because it’s soft, breathable, and cheap to work with. You’ll see terms like "combed ring‑spun" or "organic" on labels – they just tell you how the yarn was processed. For embroidered designs, a smoother surface like a fine jersey works best; it holds thread without pulling.
When you buy fabric, look for a medium weight (around 150‑180 gsm). Too light and the embroidery will pucker; too heavy and the shirt feels stiff. A little stretch, often from a bit of elastane, makes the fit more forgiving.
Step 2: Cutting the Pattern Pieces
Once the fabric is chosen, the next step is cutting. Factories use large computer‑controlled cutters that lay out pattern pieces – front, back, sleeves, and neck – to maximize material use. If you’re doing a DIY project, an iron‑on pattern with clear notches makes it easy to line up pieces correctly.
Accuracy matters. A mis‑aligned cut leads to uneven seams later on. That’s why most tee manufacturers run a quick quality check before the pieces move on to stitching.
Step 3: Sewing the Core Seams
With pieces ready, the sewing machines take over. The body of the tee is usually sewn with a straight stitch, while the side seams get a reinforced stitch for durability. The sleeves are attached next, either by a simple flat seam or a more decorative French seam for a cleaner look.
The neckline is the trickiest part. A ribbed knit collar is attached by stretching it slightly before stitching, ensuring it sits snugly without puckering. This is also where you can add a small embroidered logo if you want a subtle branding touch.
Step 4: Adding Embroidery and Details
If your tee includes custom embroidery, the shirt usually goes through a second machine after the basic construction is done. The embroidery machine follows a digitized design, stitching the pattern with precise tension. Because the fabric is already sewn, the embroidered area stays flat and neat.
Some studios, like The Little Embroidery Studio, use a special stabiliser under the stitch area to prevent distortion. This step adds the personal flair that makes a plain tee feel special.
Step 5: Finishing Touches
Finally, the shirt gets a quick trim around the edges, any loose threads are clipped, and a final press smooths everything out. Labels are sewn in, and the tees are folded or hung for packaging.
Quality control checks the seam strength, the embroidery alignment, and the overall look. Only then does the shirt head to the store or to your online order.
Knowing these steps helps you spot good construction when you shop – solid seams, even stitching, and a smooth embroidered area are signs of a well‑made tee. It also makes it easier to care for your shirt, keeping it looking fresh for years.
How to Tell If a T-Shirt Is High-Quality: 7 Key Signs You Can’t Ignore
Learn how to spot a high-quality t-shirt by checking the fabric, stitching, fit, and construction. Avoid cheap tees that shrink, fade, or fall apart after a few washes.
Read more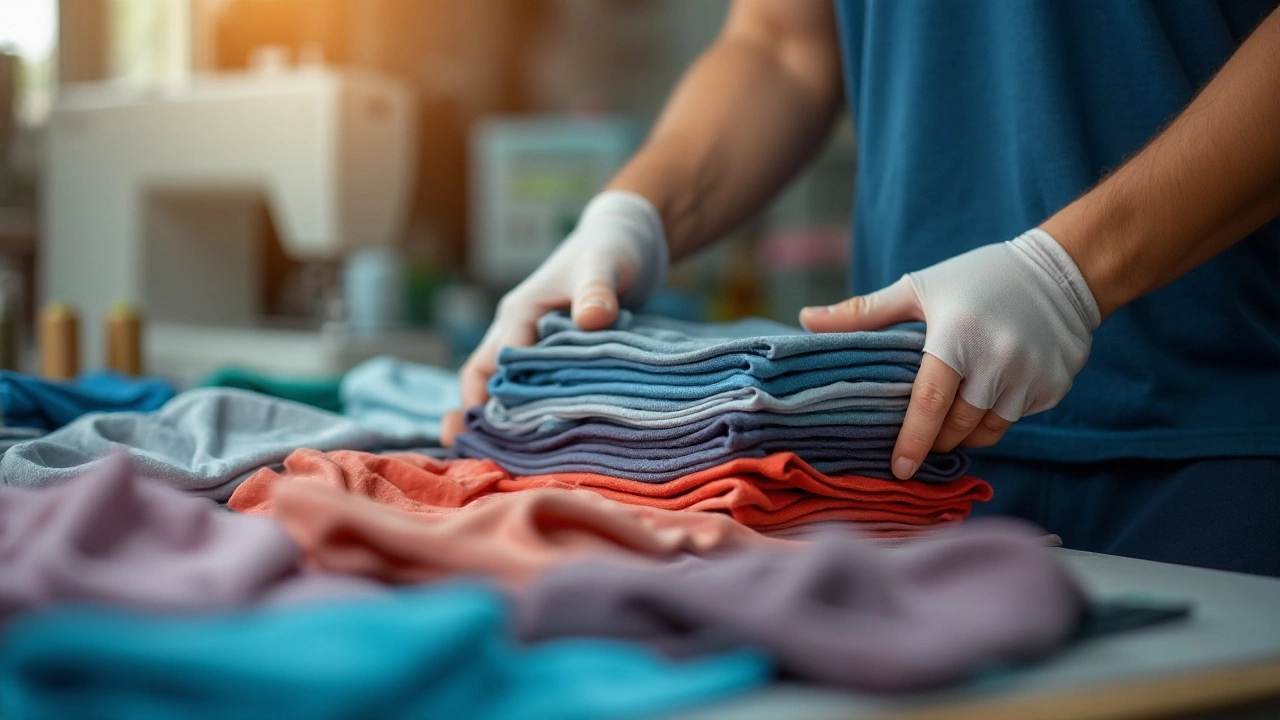
Identifying High-Quality T-Shirts: A Comprehensive Guide
Choosing high-quality t-shirts involves looking beyond the logo or design. Focus on fabric, stitching, fit, color, and brand reputation to ensure longevity and comfort. This guide offers practical tips to spot quality and make informed decisions.
Read more